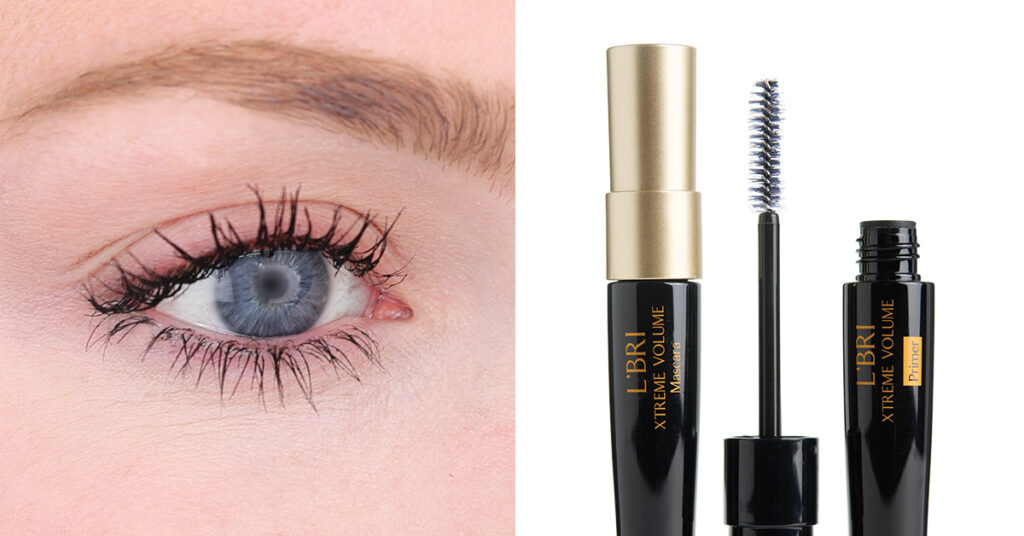
From the evenness of your eyebrows to the curve of your jaw, framing your features can help you Awaken Real Beauty by enhancing your favorite qualities and disguising others.
Celebrity and supermodel makeup artists are master sculptures, and now you can be too. When done well, the results of contouring can be wonderfully surprising. Framing is not all about contouring, beautifully balanced eyebrows can also transform your face in seconds. All you need is the NEW! Trio Contour Compact with the Contour and Highlight Brush, plus the NEW! Perfect Eyebrow Pencil. Let’s begin:
Frame Your Features: Eyebrows
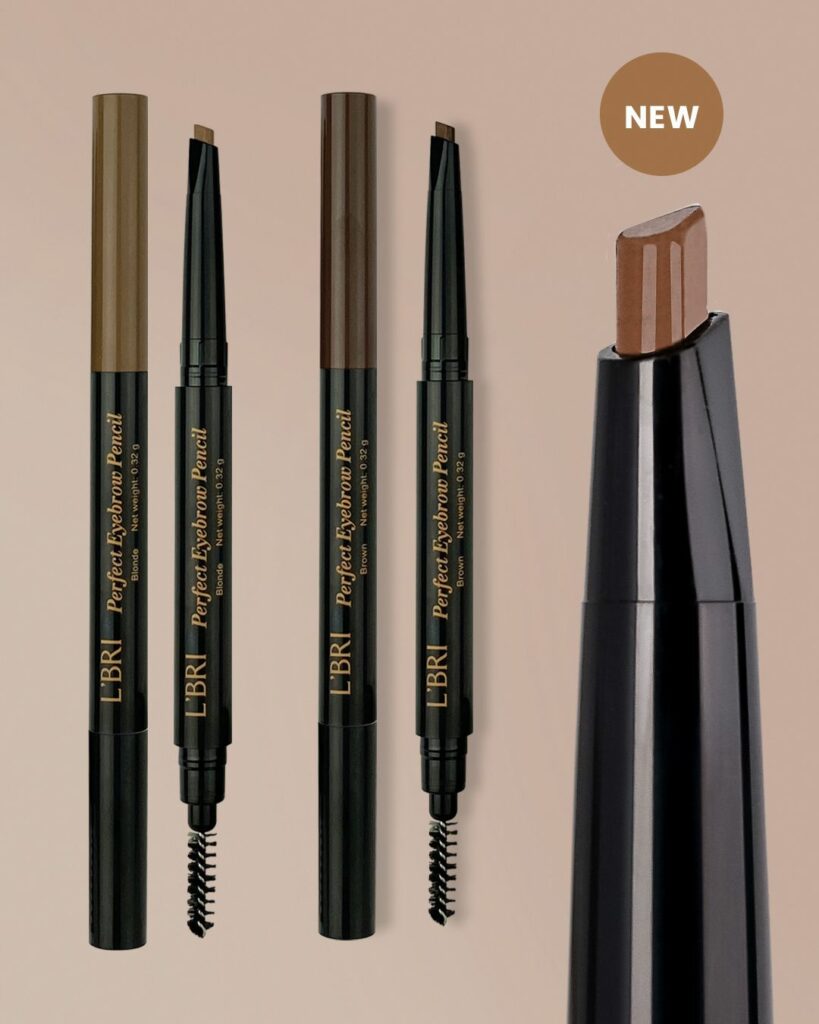
NEW! Perfect Eyebrow Pencil
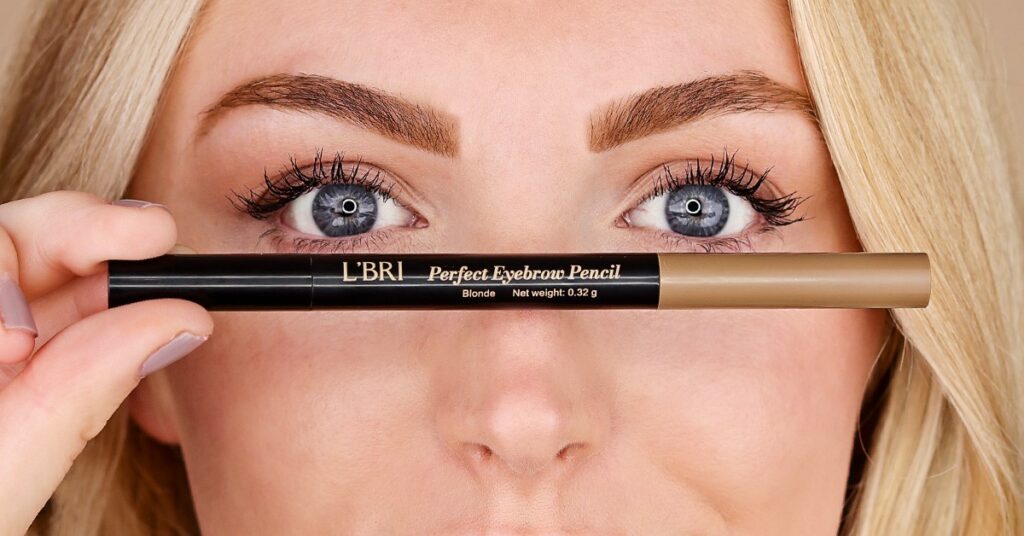
Well-styled, symmetrical brows frame and balance your overall features making your entire face look lifted and awake. Our NEW! Perfect Eyebrow Pencil has a unique triangular tip to maximize your options and put you in control.
NATURAL DAY BROWS:
1. Start at the highest part of the brow. Use the thin, detailed point at the top of the triangle to make hair-like strokes in the direction of hair growth to fill in sparse areas.
2. Then use the same tip to fill in the inner part of your brow using the same hair-like strokes.
3. Use the spoolie to brush hairs into place.
PERFECT PARTY BROWS:
1. Again, start at the highest part of the brow. This time use the thin point to outline the entirety of your brows using short strokes.
2. Then use the broader tip to fill in and define the inner part of your brow with short strokes. Use the thin point to add hairlike detail to the innermost part of each brow.
3. Use the spoolie to blend while brushing hairs up and out.
Frame Your Features: Contour and Highlight
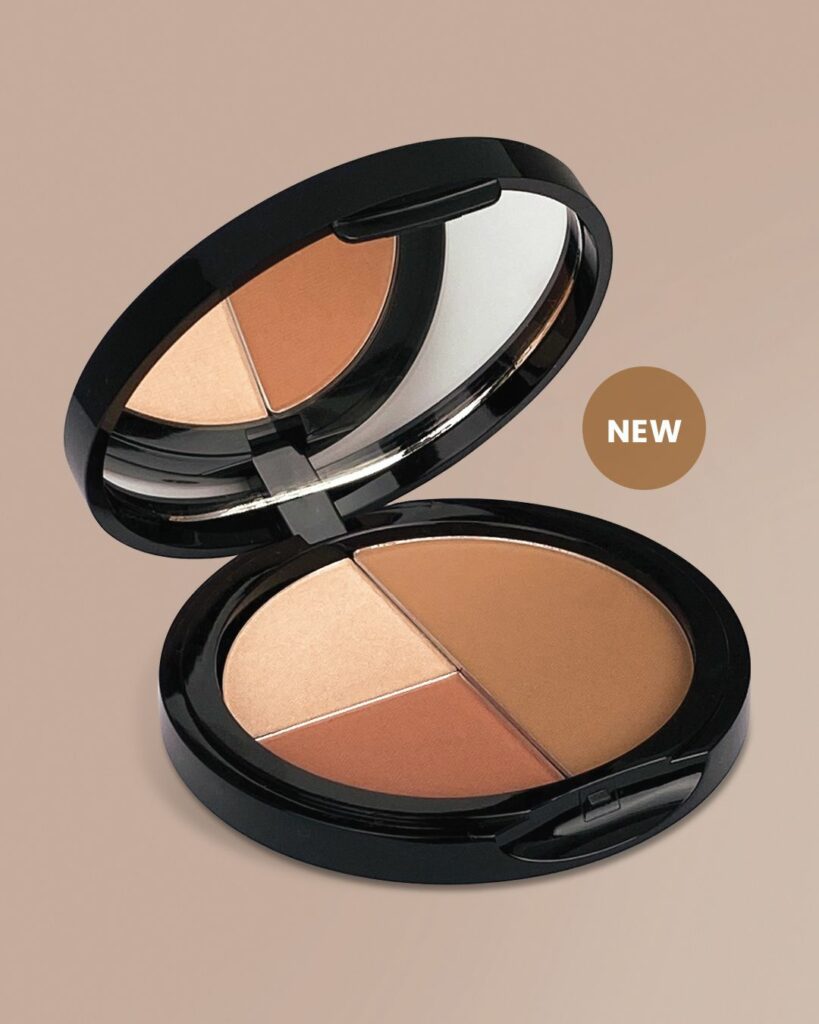
NEW! Trio Contour Compact and Contour and Highlight Brush
The darkest shade in this compact is used for contouring or disguising, while the lighter shade is used for highlighting or enhancing. Using the following techniques, you can help create a simple contoured look, or address specific areas. Downsizing a large forehead, making a nose appear straighter and thinner, defining cheekbones, and giving the appearance of an angular jawline only take a few pro tools and a few quick steps.
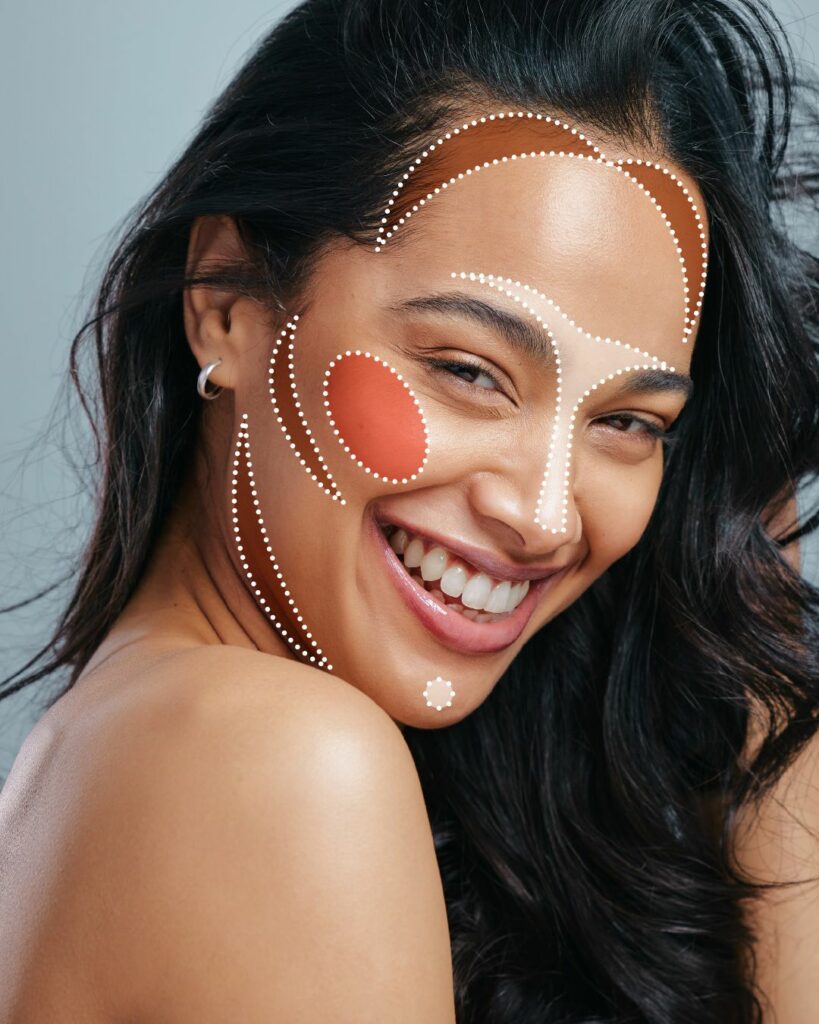
Frame Your Features in 3 Easy Steps
1. Apply Contour Powder (the darker shade) using the angled end of the Contour and Highlight Brush to the areas indicated on the diagram in brown (below).
2. Use a Powder Brush to apply blush to the apples of your cheeks then blend toward your hairline.
3. Illuminate and brighten your complexion using the round end of the Highlight Brush. Apply Highlight Powder (lighter shade) along the bridge of the nose, above the eyebrows, and a dot on the chin as indicated on the diagram in white (below). Blend everything well.
Enhance and Disguise Targeted Areas
Downsize a Large Forehead
Using the angled end of the Contour and Highlight Brush apply the darker contouring powder on your forehead along your hairline and on the parts of the forehead you would like to appear less prominent. Now use the round end of the Contour and Highlight Brush to apply highlight powder in the middle of the brow and blend up to bring the focus down to your eyes.
Make a Nose Appear Straighter
Apply the contour shade down the sides of your nose using the angled end of the Contour and Highlight Brush. You want to make these lines as parallel and vertical as possible. This creates the illusion of a more aligned bridge. Brush highlight powder to the concave area at the top of the nose (between your eyes) at the center of the bridge. This will visually bring that area forward. Highlight the creases on each side of your nostrils and blend everything well.
Define Cheekbones
In order to find your cheekbones, such in your cheeks. Using the angled end of the Contour and Highlight Brush, brush contour powder just below your cheekbones all the way to your hairline. If you’ve contoured your forehead around your hairline, you will be able to blend these two together. Using a Blush Brush from the 5-Piece Brush Set, apply the blush powder to the apples of your cheeks and blend toward your hairline. Finally, apply highlight powder above your cheekbones, just below your eyes. Then blend well.
Give the Appearance of an Angular Jaw
Lift your head to get a complete view of your jawline. Using the angled end of the Contour and Highlight Brush apply contour powder along the edge of your jawline. This creates a shadow that adds definition to your bone structure. Blend well.
Buffing and blending are of the utmost importance when creating a contoured look. Harsh lines look unfinished and unnatural. So, grab a fluffy brush for your face and a spoolie for your eyebrows and blend, blend, blend.

